Blog
How to Prepare for a Home Inspection

A home inspection can be a bit overwhelming if you’re new to the process, but understanding what to expect can help you feel more confident. Here’s a breakdown of what typically happens during a home inspection:
1. Before the Inspection
- Scheduling: After your offer on a home has been accepted, you’ll schedule the inspection (typically within a few days to a week). It’s best to schedule it quickly to avoid delaying the overall process.
- Inspector Selection: You’ll either choose your own inspector or sometimes the seller provides one. Make sure the inspector is licensed and experienced.
- Prepare the Home: Make sure the seller has easy access to all areas of the home, including the attic, basement, and garage. It’s also a good idea for them to have utility access (water, electricity, gas) turned on.
2. Arrival and Introduction
- Arrival Time: Expect the inspection to take 2-4 hours, depending on the home’s size, age, and condition. The inspector will arrive early to start their evaluation.
- Introduction: You’ll meet the inspector, who will explain the process and what they’ll be looking at. They may also let you know how the report will be delivered (usually within 24-48 hours).
3. What the Inspector Will Evaluate
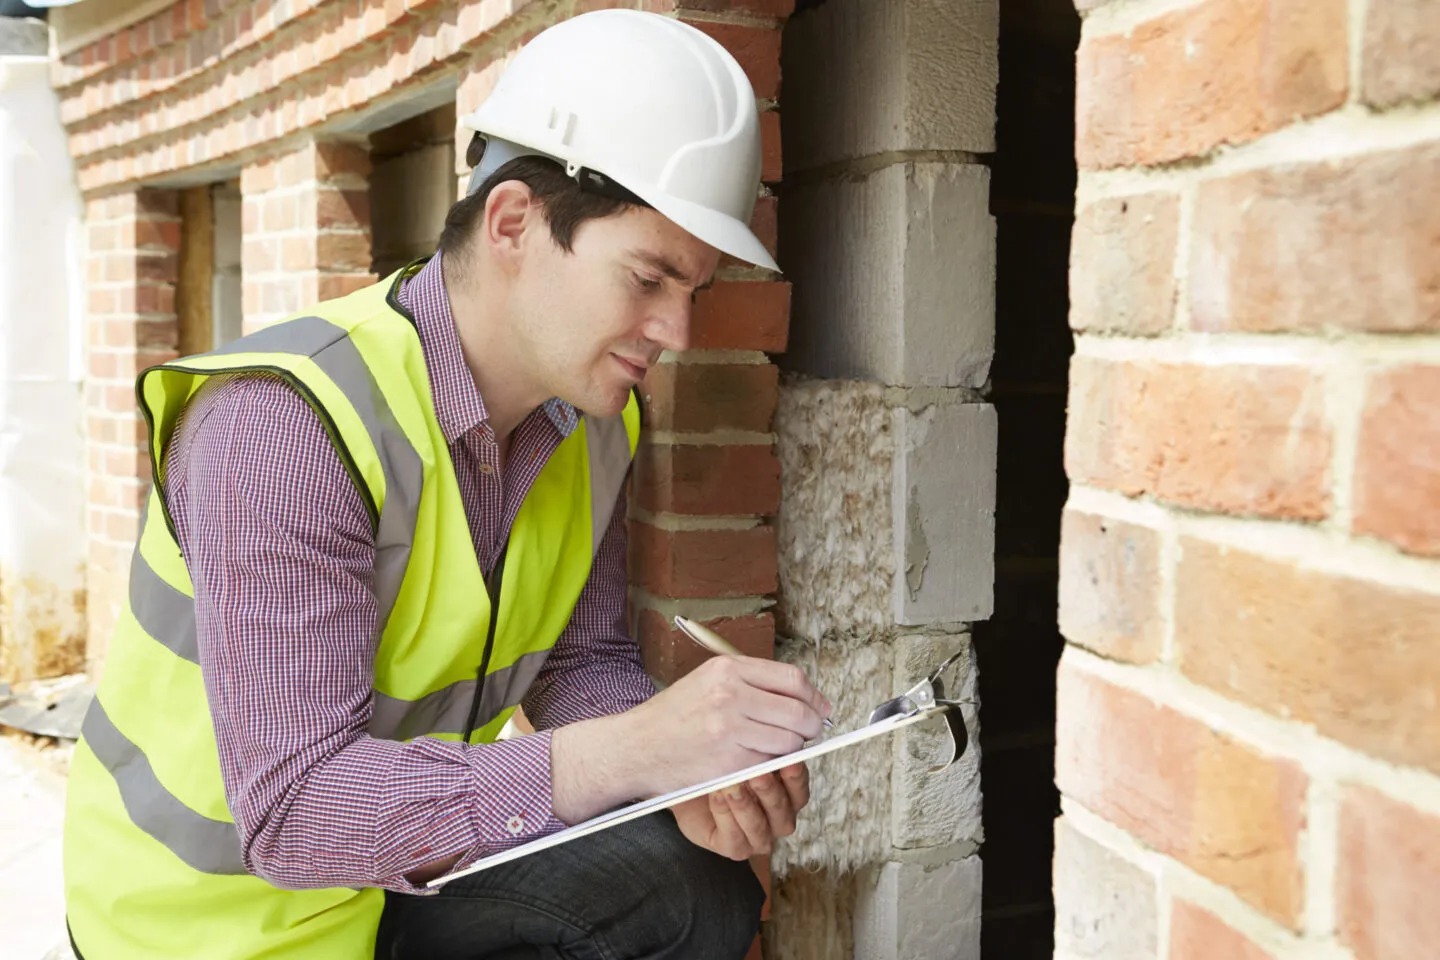
The inspector will examine both the exterior and interior of the property for potential issues.
Exterior Inspection:
- Roof: The inspector will check for visible damage, missing shingles, leaks, and overall condition. They may use a ladder to inspect from above.
- Foundation: They will look for cracks, water damage, or any signs of settling or shifting that could indicate foundation problems.
- Siding and Windows: The inspector will check for cracks, rotting, or issues with the windows, like leaks or damage.
- Gutters and Drainage: Inspecting gutters, downspouts, and the grading around the house is important to prevent water damage.
Interior Inspection:
- Plumbing: The inspector will check faucets, toilets, water pressure, and the condition of pipes (looking for leaks or corrosion).
- Electrical System: The electrical panel, outlets, and any visible wiring will be checked for safety, capacity, and function.
- HVAC: The heating and cooling systems will be tested for proper operation, and filters will be checked for cleanliness.
- Appliances: Major appliances (like the stove, refrigerator, and dishwasher) will be tested to ensure they’re working.
- Attic and Crawl Space: The inspector will look for proper insulation, ventilation, and signs of moisture or pests.
- Interior Structure: They will check for cracks in walls, ceilings, and floors. Any signs of water damage, uneven floors, or sagging ceilings will be noted.
4. Your Role During the Inspection
- Be Present: It’s a good idea to attend the inspection (or at least part of it), as this gives you the chance to ask questions and gain a clearer understanding of any potential issues.
- Ask Questions: If something isn’t clear or you’re unsure about the severity of an issue, ask the inspector to explain. They can give you a better sense of what needs immediate attention versus minor maintenance.
- Take Notes: Even though you’ll get a detailed report afterward, it’s helpful to take notes about what’s being inspected and any concerns raised.
5. Common Issues That May Be Found
- Roof Damage: Missing shingles, leaks, or signs of wear.
- Electrical Issues: Outdated wiring, exposed wires, or insufficient outlets.
- Plumbing Leaks: Leaky pipes, low water pressure, or damaged fixtures.
- HVAC Problems: Old or inefficient heating and cooling systems.
- Water Damage: Mold, leaks, or moisture buildup in basements, attics, or bathrooms.
- Structural Problems: Foundation cracks, uneven floors, or door frames that don’t align correctly.
6. Post-Inspection Report
- Detailed Findings: After the inspection, you’ll receive a written report that includes a detailed overview of the home’s condition, photographs of any issues, and recommendations for repairs.
- Severity Levels: The report will often categorize issues by severity—critical problems that need immediate attention, maintenance recommendations, and minor issues that are not urgent.
- Clarity: If you don’t understand something in the report, contact the inspector for clarification. They can explain the significance of each issue and its potential impact.
7. Next Steps After the Inspection
- Review the Report: Take time to carefully read through the report and decide if any issues require urgent attention or if you’d like to negotiate with the seller.
- Negotiating Repairs: If significant issues are found, you can negotiate with the seller to either make repairs or lower the sale price to account for the cost of repairs.
- Specialized Inspections: If the inspector recommends further inspection by a specialist (e.g., for mold, pests, or foundation problems), you’ll need to schedule that as well.
- Make a Decision: After receiving the inspection report and considering the findings, you can decide whether to proceed with the purchase, renegotiate the offer, or walk away from the deal if the issues are too costly or concerning.
8. Cost of the Inspection
- Price Range: Home inspections typically cost between $300 and $500, depending on the size and location of the home. Additional inspections for specialized concerns (like pests, radon, or asbestos) may add to the cost.
- Worth the Investment: While it’s an additional expense, a home inspection is one of the best ways to protect your investment and avoid unforeseen costs after moving in.
Conclusion
A home inspection is an essential part of the home-buying process, providing you with a clear picture of the property’s condition. Expect a detailed, thorough examination of the home’s major systems and structures. By being present, asking questions, and reviewing the final report, you can make an informed decision about whether to move forward with the purchase or request repairs before closing.
